Migrating Parallels VMs to Oracles’ VirtualBox

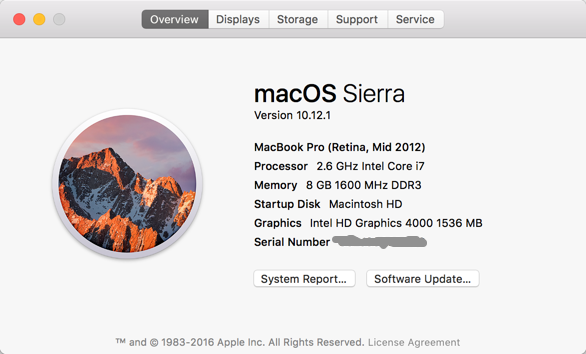
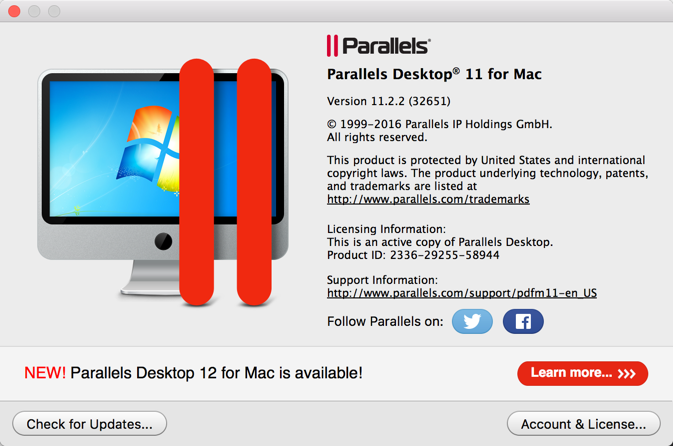
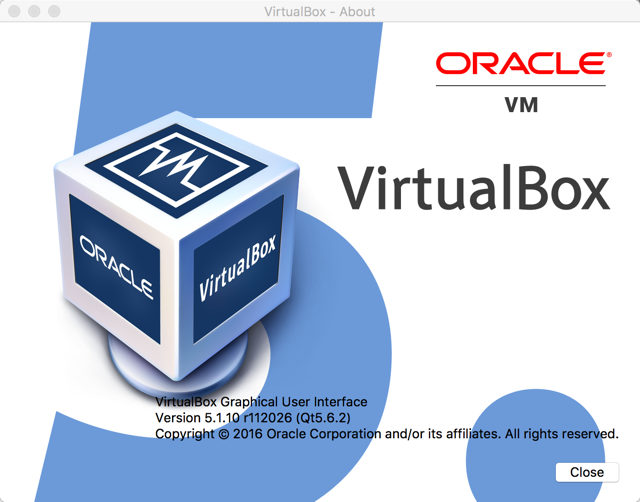
Below are the steps to migrate a Parallels VM to VirtualBox. This example is done on a MacBook Pro running OS X Sierra (see screenshot below) using the followjng versions of Parallels and VirtualBox:
 |  |  |
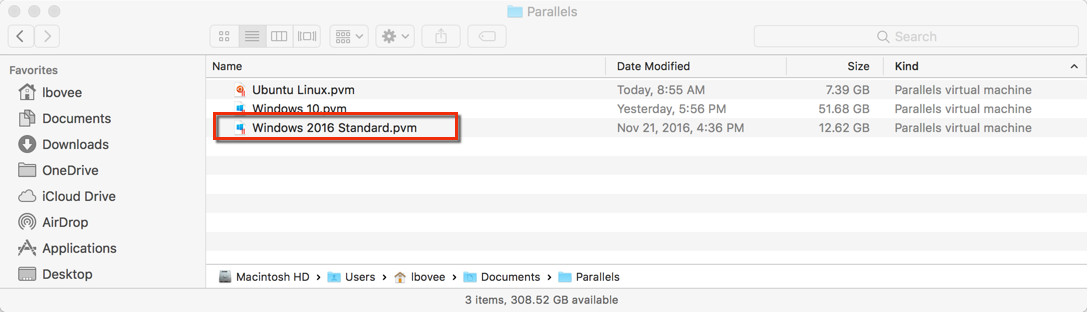
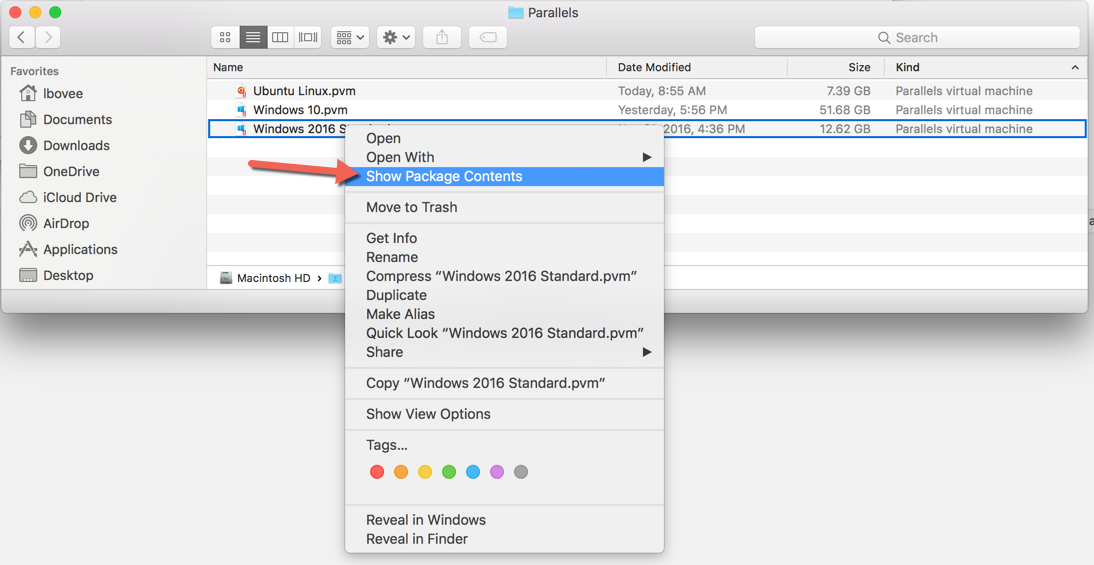
1. Locate the VM file that you wish to import. It is located in your Parallels folder (where all the VM´s are located – my VM was in the Documents folder on my Mac) and right-click -> “Show Package Contents”
 |
 |
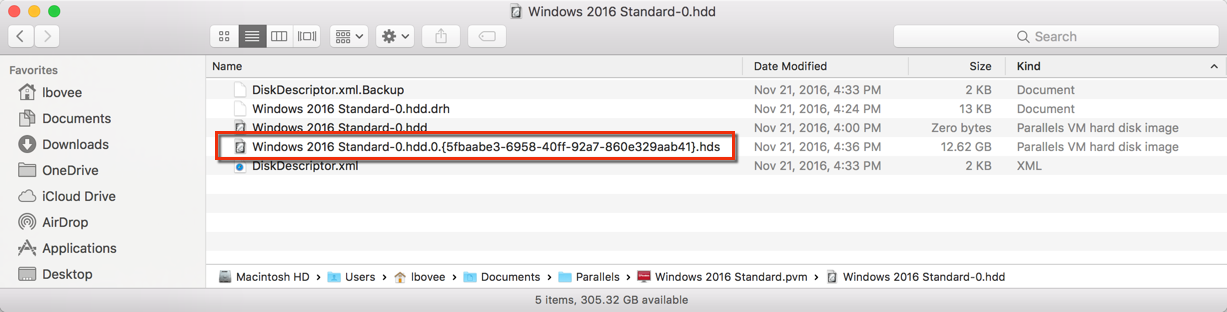
2. Locate the .hdd file, right-click and choose “Show Package Content”
 |
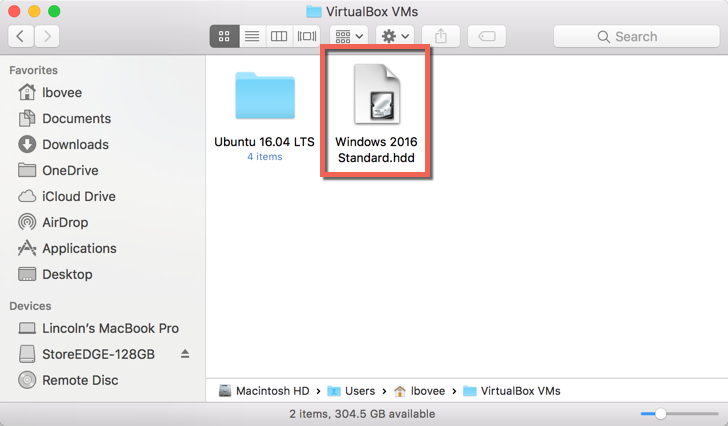
3. Locate the .hds file, copy it to another location and rename extension to .hdd (the 2nd image shows the .hds file copied and renamed to .hdd in the VirtualBox VM folder. This is where I chose to copy it.)
 |
 |
4. We now will begin to migrate the .hdd into VirtualBox. Load VirtualBox and click on the “New” icon at the top left of the dialog
 |
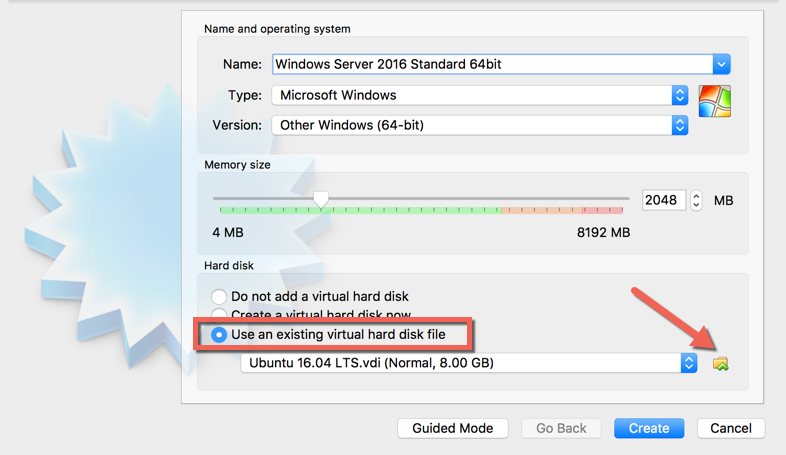
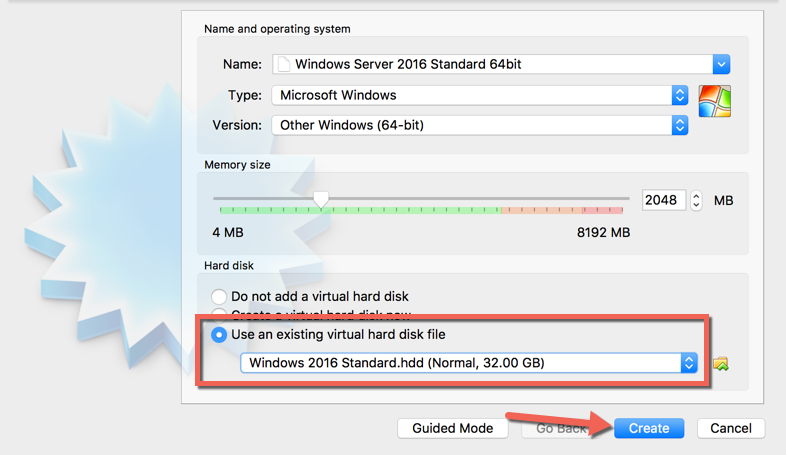
5. Click on the “use existing virtual hard disk file” option and then click the folder icon at the far right (see arrow)
 |
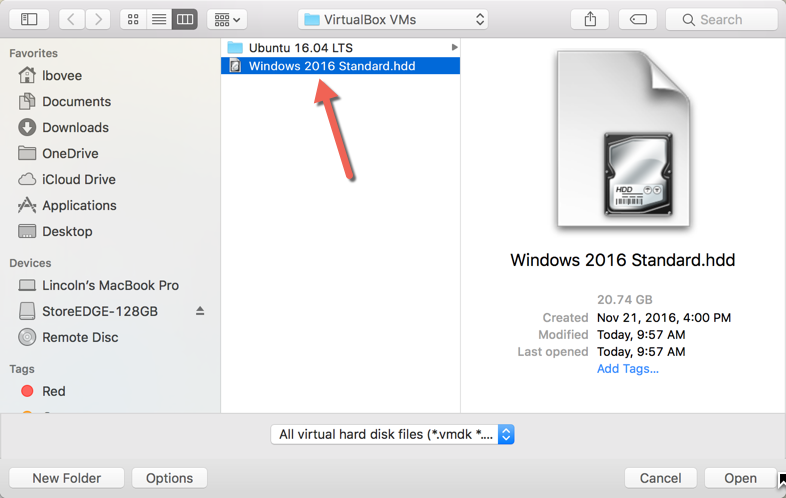
6. Select the .hdd file you copied and renamed in step 3 then click the Open button on the lower right corner of the dialog
 |
7. Verify that everything is correct. If so, click on the Create button on the lower right of the dialog
 |
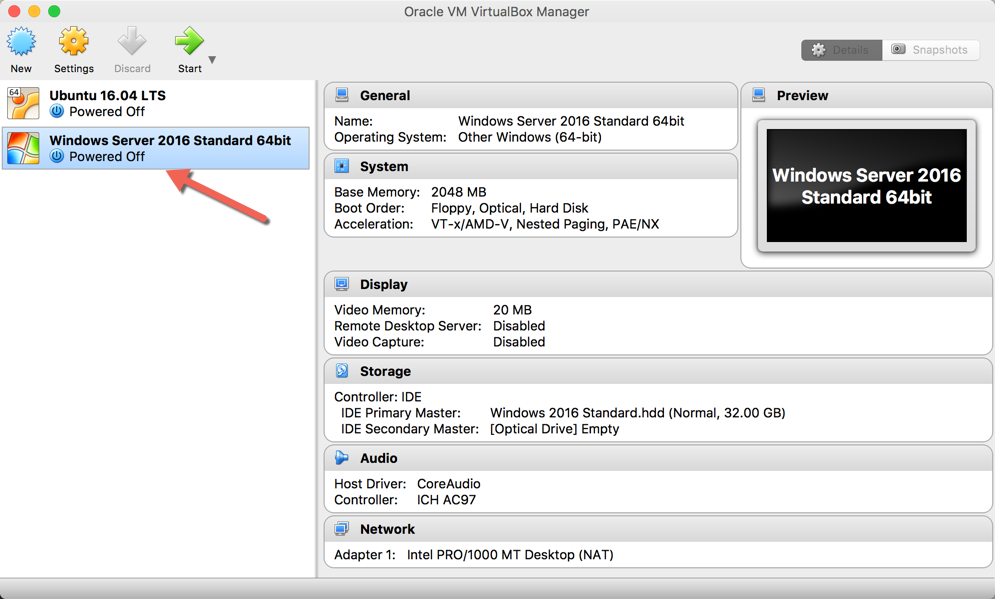
8. Once complete, the newly migrated VM should show up in the list of VM’s in VirtualBox
 |
9. VirtualBox will create a new folder and migrate the VM into it
10. Start up the newly migrated VM
11. Uninstall the Parallels Tools
12. Install the VirtualBox Guest additions
13 You are done! Play with your new VM!