VirtualBox repository for CentOS and installation
Install VirtualBox 6.0 on CentOS 7
VirtualBox is one of the best free virtualization software package that you can use to virtualize different operating systems. VirtualBox has simple and easy to use user interface. So, VirtualBox is a great choice for people who don’t have much experience on virtualization. It’s very beginner friendly.
Recently, VirtualBox 6.0 came out. Which is a major update to VirtualBox 5.2. In this article, I will show you how to install VirtualBox 6.0 on CentOS 7. So, let’s get started.
Enabling Hardware Virtualization:
Before you start installing VirtualBox, make sure AMD-v or VT-x/VT-d is enabled from the BIOS of your computer. Otherwise, your virtual machines will not perform as expected. It will lag and hurt your workflow.
Adding VirtualBox Package Repository:
VirtualBox 6.0 is not available in the official package repository of CentOS 7. But we can easily add the official VirtualBox package repository on CentOS 7 and install VirtualBox 6.0 from there.
First, navigate to the /etc/yum.repos.d directory with the following command:

Now, download the virtualbox.repo file and save it to the /etc/yum.repos.d directory with the following command:

The VirtualBox repository file should be downloaded.
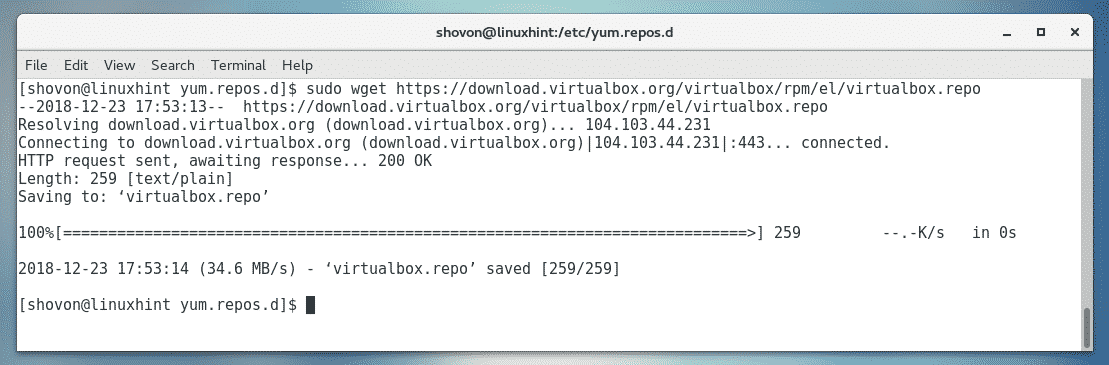
As you can see, a new file virtualbox.repo is created.

Updating YUM Package Repository Cache:
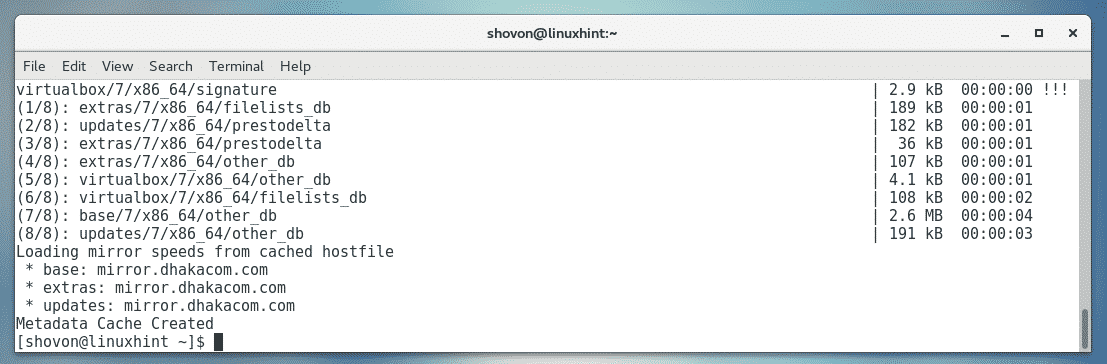
Now, you have to update the YUM package repository cache.
To do that, run the following command:

Now, press y and then press <Enter>.

The YUM package repository cache should be updated.
Upgrading Kernel:
Now, you have to update the kernel of CentOS 7. Otherwise, VirtualBox 6.0 kernel module won’t compile correctly. Currently, I am using kernel 3.10.0-693 as you can see in the screenshot below.

To update the kernel, run the following command:

Now, press y and then press <Enter> to continue.
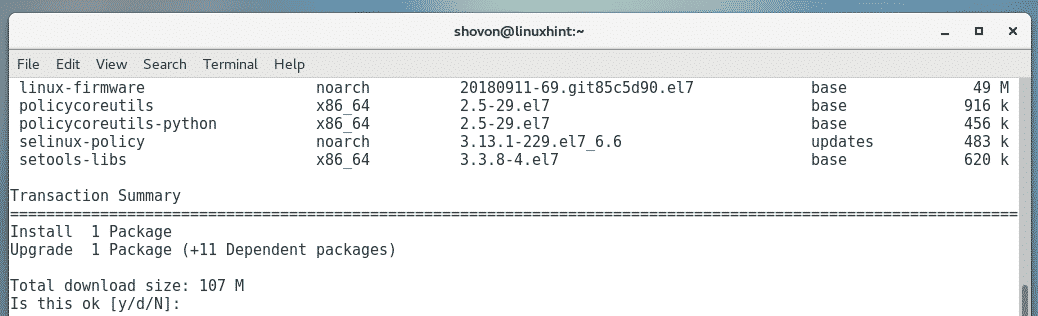
The required packages should be downloaded and installed.
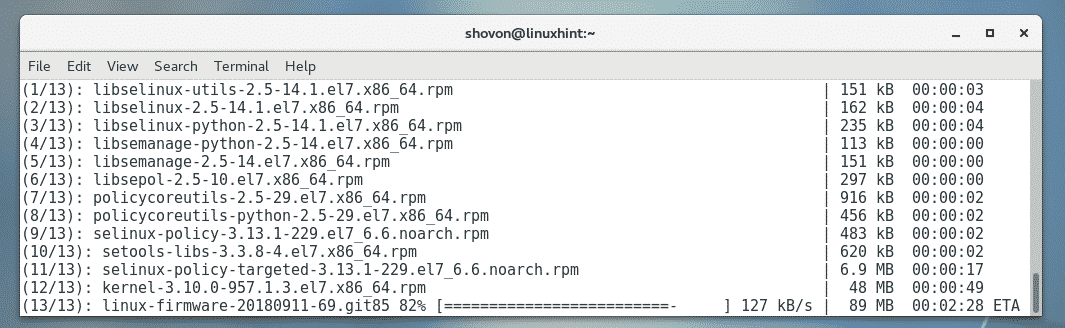
The kernel should be updated at this point.
Now, run the following command to reboot your CentOS 7 machine.

Once your computer starts, it should start using the updated kernel as you can see in the screenshot below.

Installing Dependency Packages:
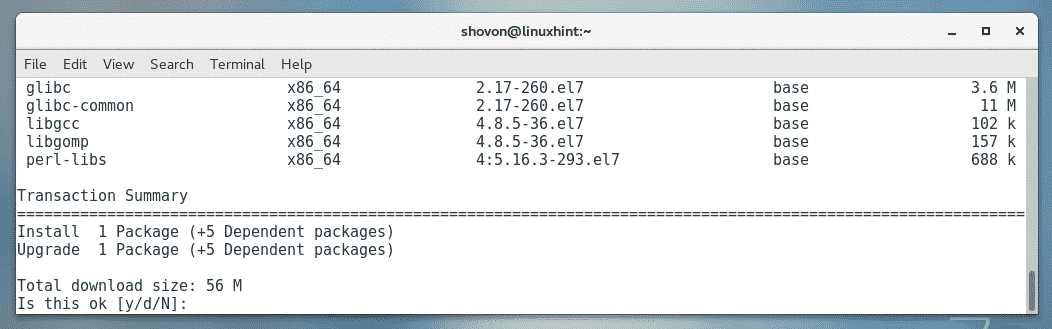
Now, you have to install some perquisite packages required to build the VirtualBox 6.0 kernel module. To install the required kernel headers and GCC compilers, run the following command:

Now, press y and then press <Enter>.
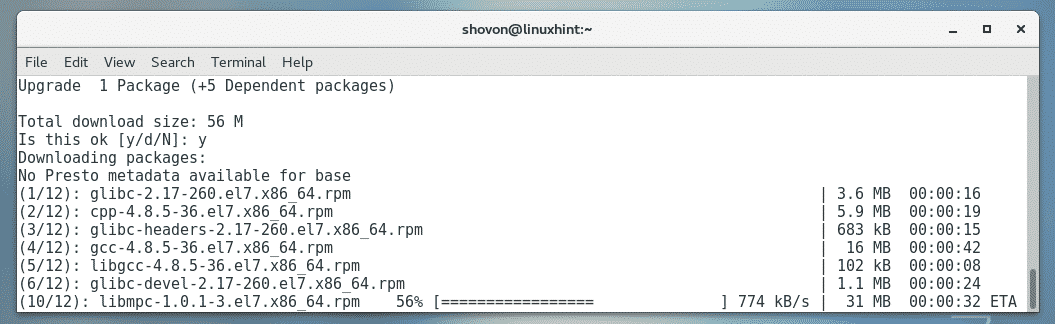
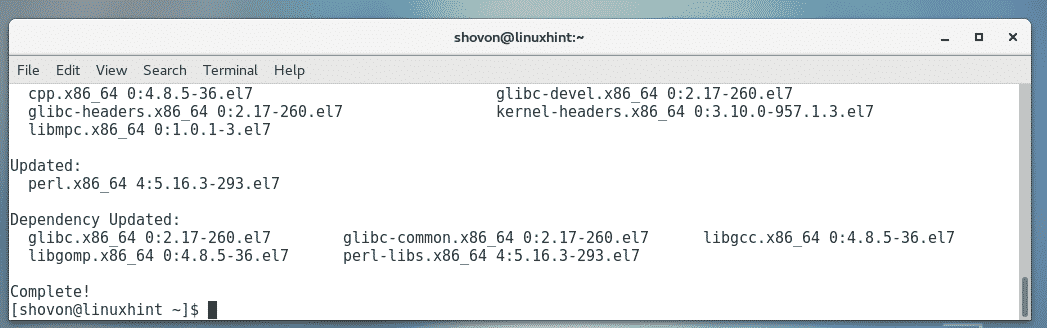
The required packages should be downloaded and installed.
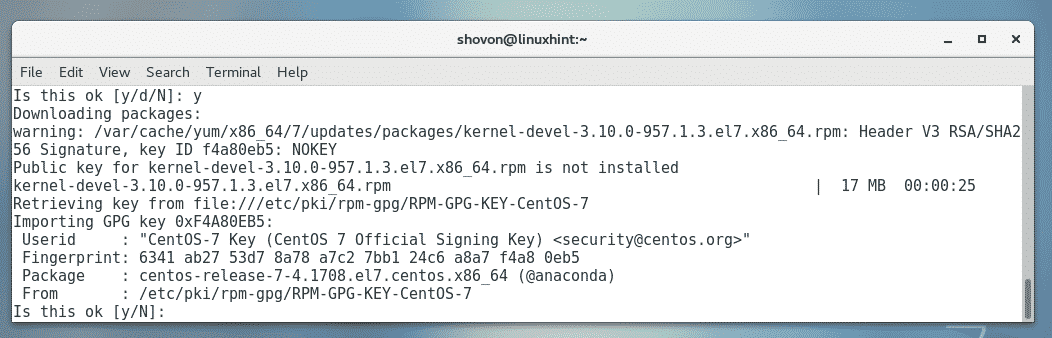
You may be asked to confirm the GPG keys. Just press y and then press <Enter> to continue.
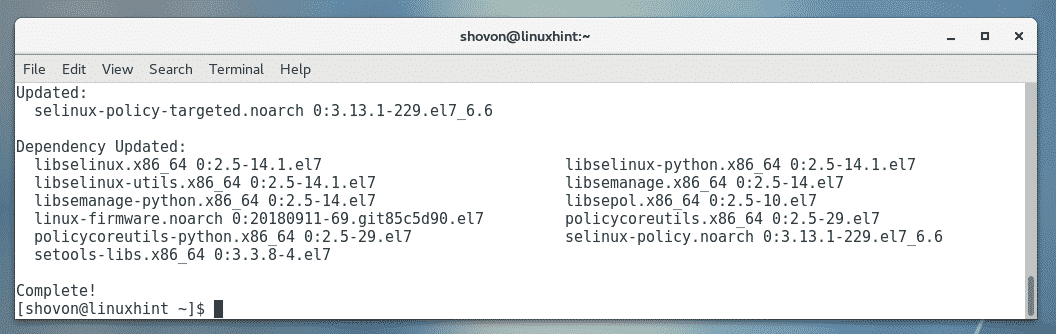
The required packages should be installed.
Installing VirtualBox 6.0:
Now, you can install VirtualBox 6.0 on your CentOS 7 machine with the following command:

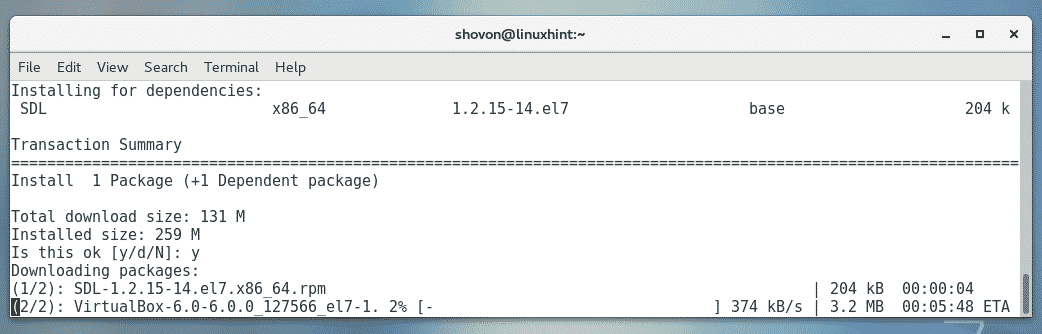
Press y and then press <Enter>.
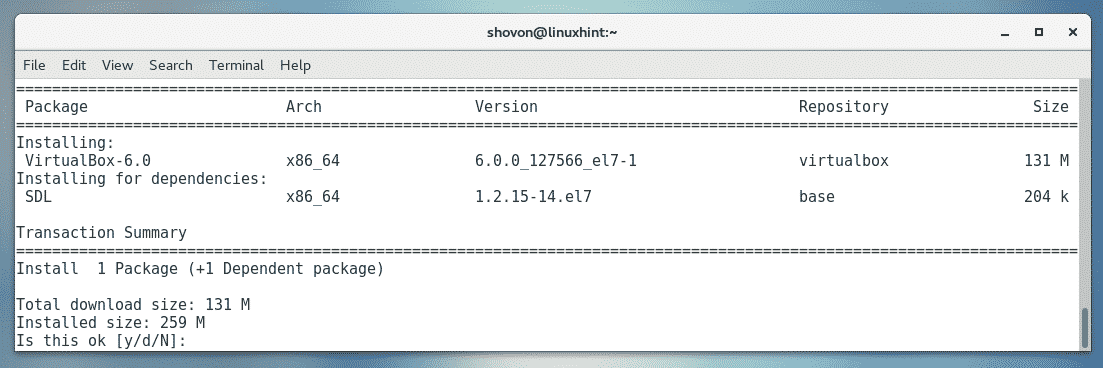
The required packages should be downloaded and installed.
If you are asked to confirm the GPG key, then just press y and then press <Enter>.
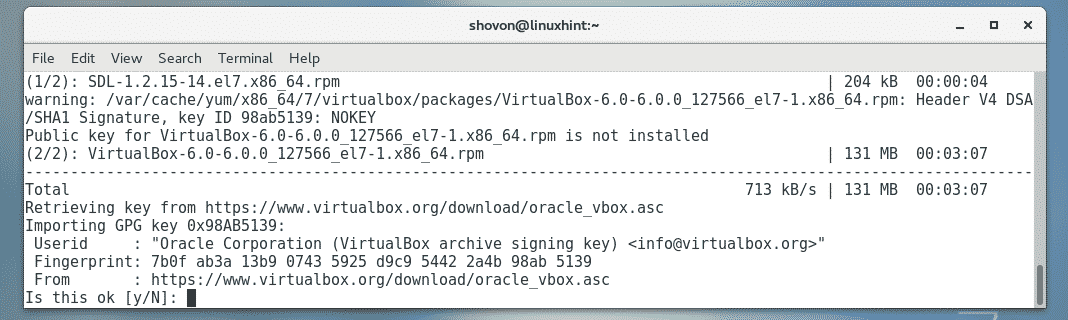
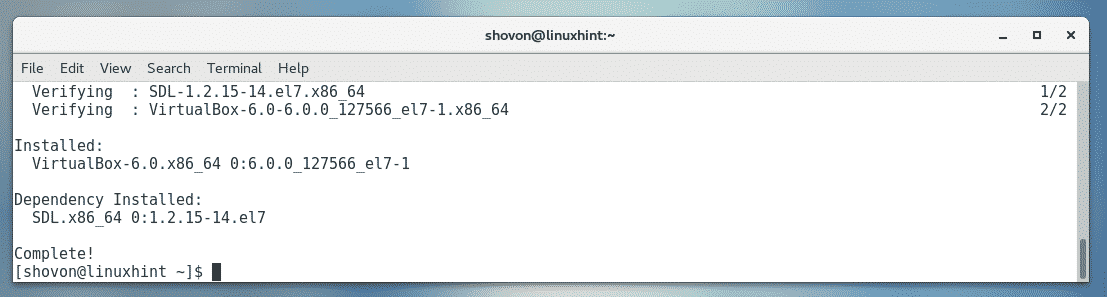
VirtualBox 6.0 should be installed.
Starting VirtualBox:
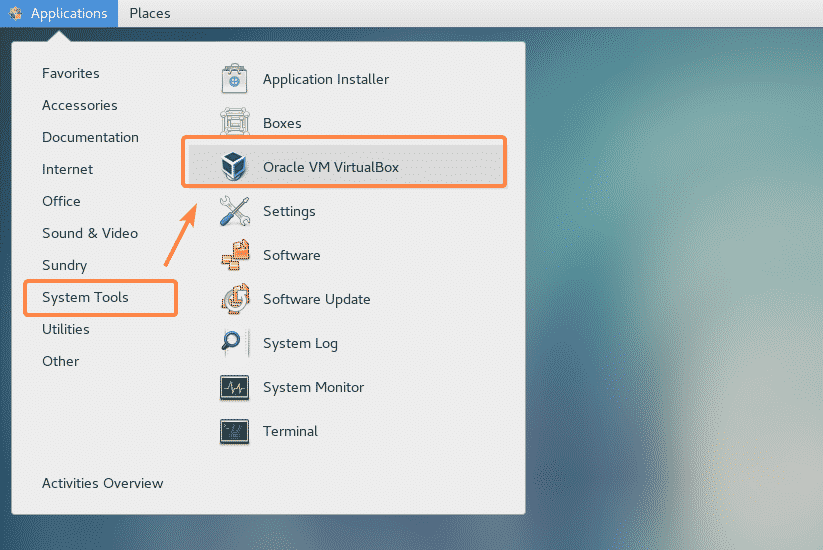
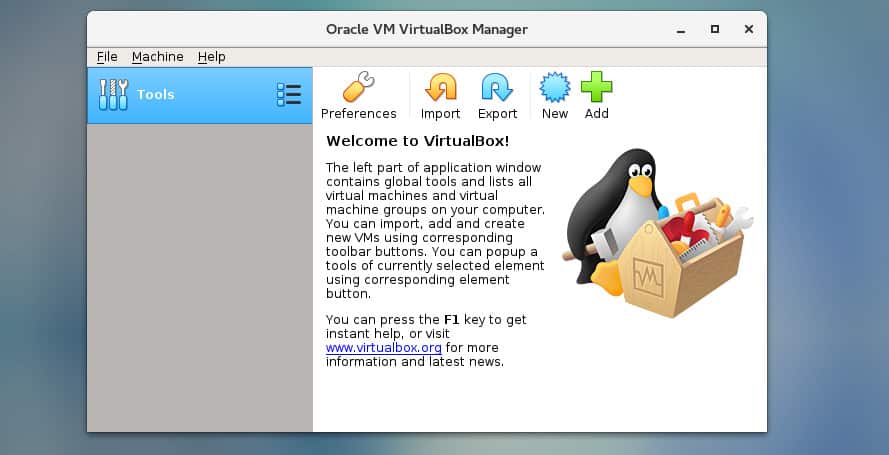
Now, that VirtualBox 6.0 is installed, you can start VirtualBox 6.0 from the Applications Menu as follows.
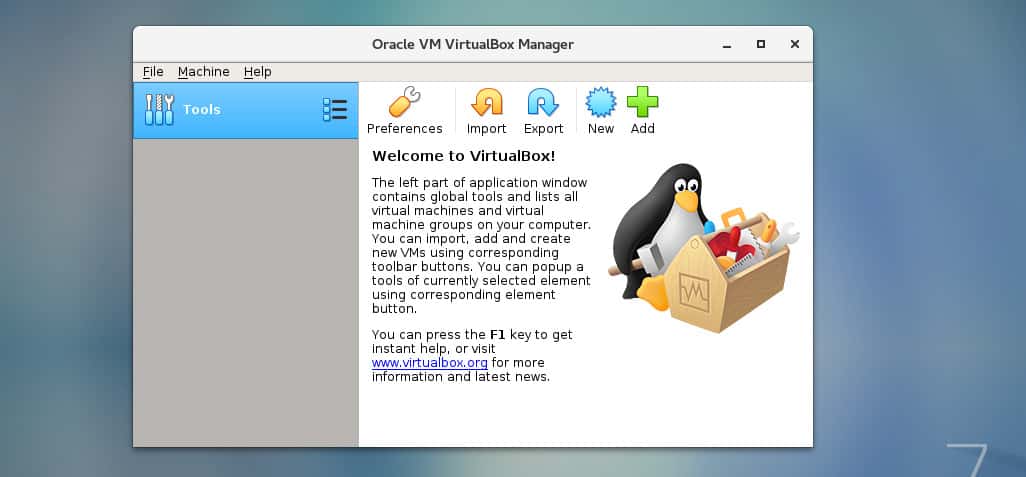
As you can see, VirtualBox has started.
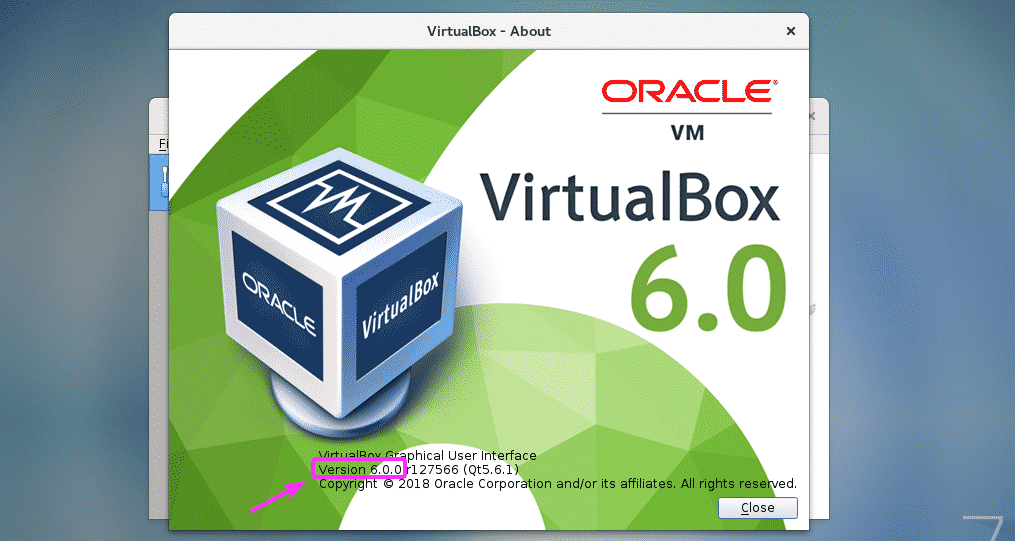
I am running VirtualBox version 6.0.0. It may be different for you at the time you read this article. Note the version number as you will need it when you download the VirtualBox Extension Pack.
Installing VirtualBox Extension Pack:
VirtualBox Extension Pack enables support for USB 2.0 and USB 3.0 devices, RDP, disk encryption, NVMe and PXE boot for intel cards and many more. If you need these features, then you have to download VirtualBox extension pack for the VirtualBox version you installed from the official website of VirtualBox and install it.
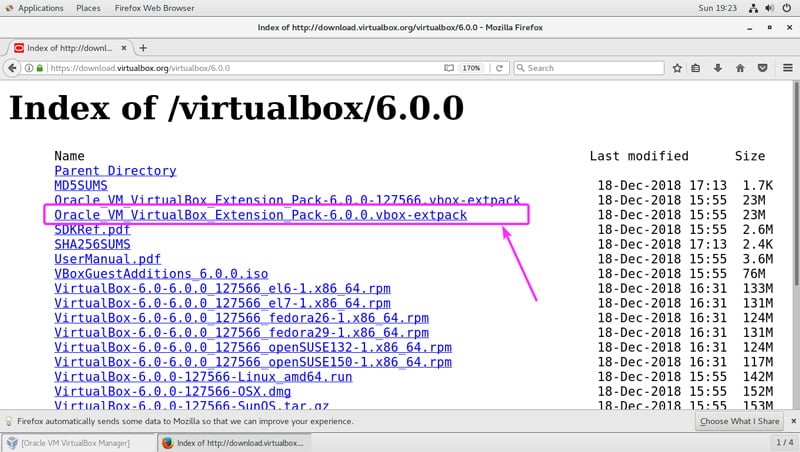
First, to visit the official FTP directory of VirtualBox at https://download.virtualbox.org/virtualbox/6.0.0
Once the page loads, click on the “Oracle_VM_VirtualBox_Extension_Pack-6.0.0.vbox-extpack” file as
marked in the screenshot below.
NOTE: Here, 6.0.0 is the version of the VirtualBox you installed. If it’s different for you, then replace
6.0.0 in the URL with the version you have.
Now, select Save File and click on OK.
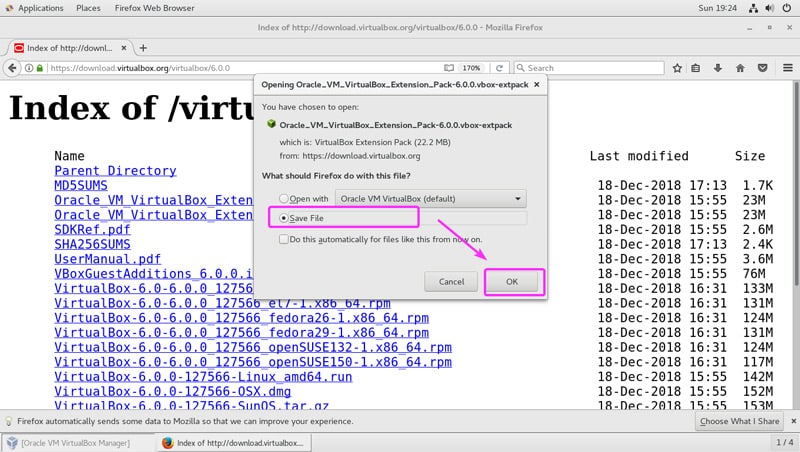
VirtualBox Extension Pack should be downloaded.

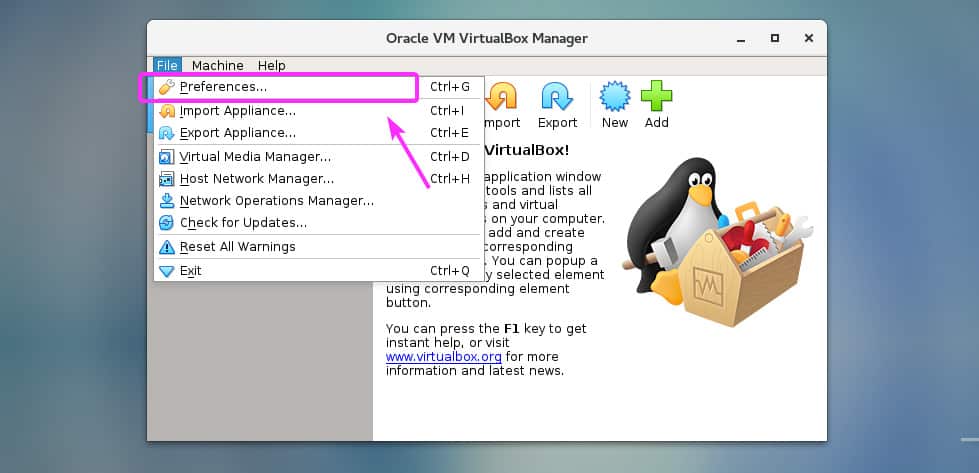
Now, from VirtualBox 6.0, go to File > Preferences… as marked in the screenshot below.
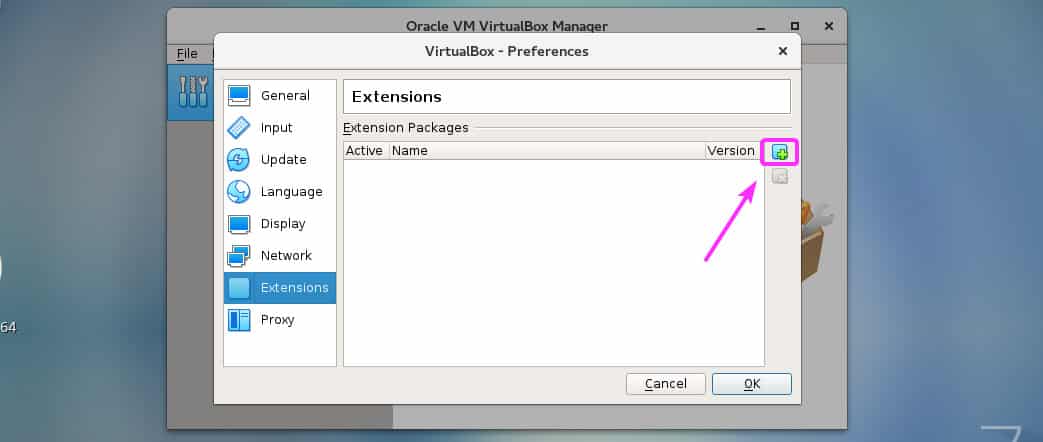
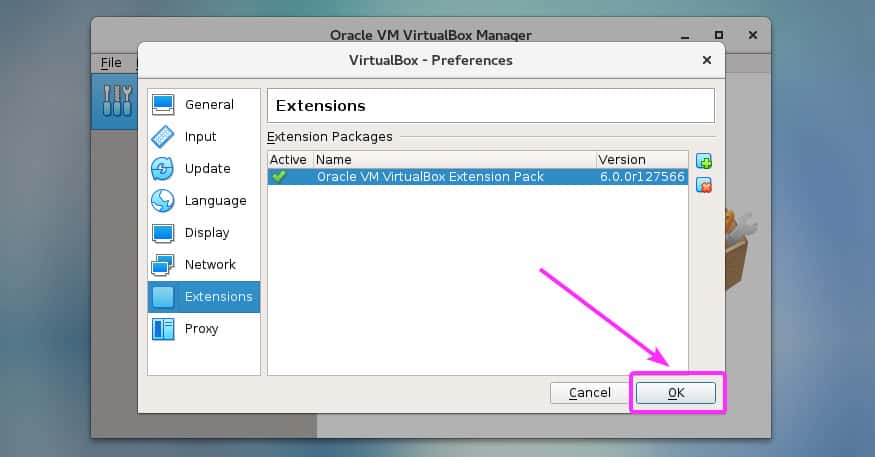
Click on the Extensions tab.
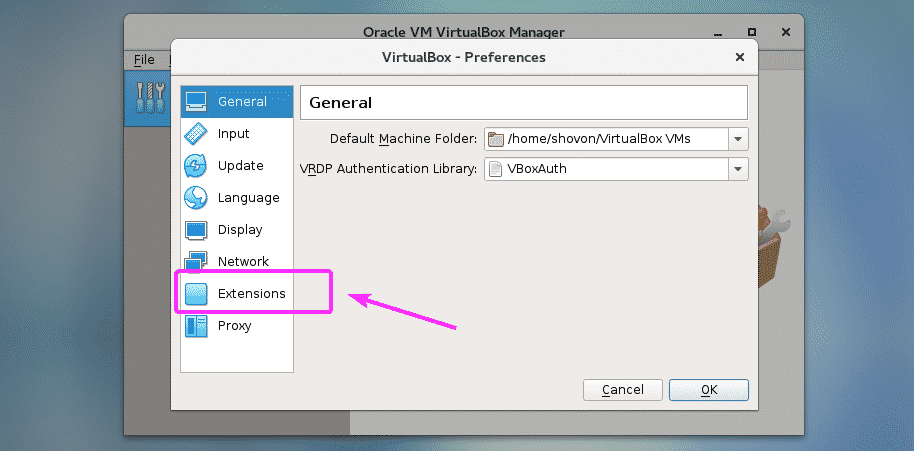
Now, from the Extensions tab, click on the Add icon as marked in the screenshot below.
A file picker should be opened. Now, select the VirtualBox Extension Pack file you just downloaded and click on Open as marked in the screenshot below.

Now, click on Install.

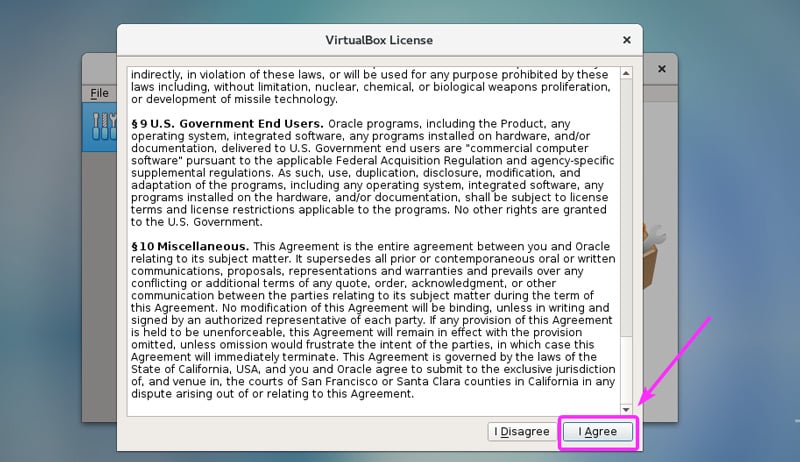
Now, you have to accept the VirtualBox License. To do that, scroll down to the end of the license and click on I Agree.
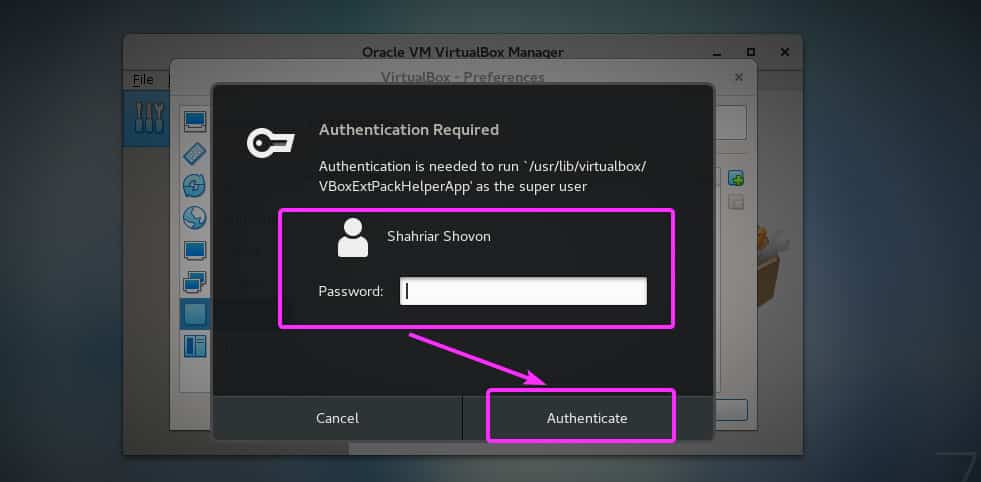
You need super user privileges in order to install VirtualBox Extension Pack. Just, type in your login password and press <Enter>.
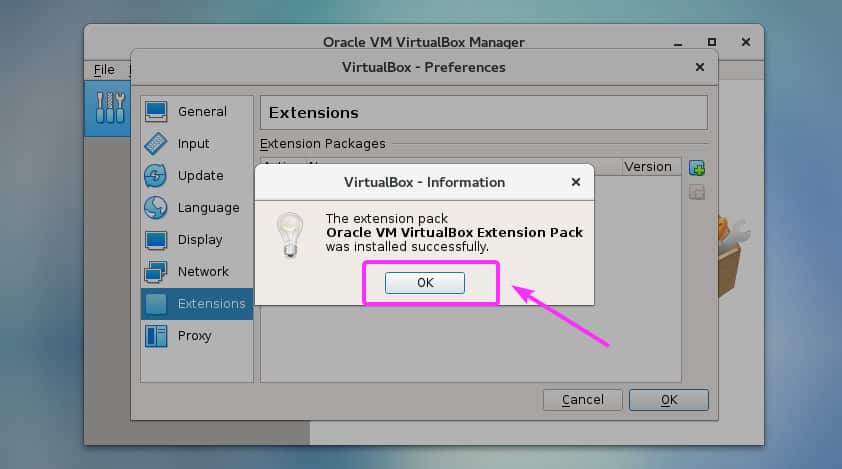
VirtualBox Extension Pack should be installed. Now, click on OK.
Click on OK.
Now, you can start creating virtual machines with VirtualBox 6.0.
So, that’s how you install VirtualBox 6.0 on CentOS 7. Thanks for reading this article.
Source: https://linuxhint.com/install_virtualbox_6_centos/
Repo source: https://download.virtualbox.org/virtualbox/rpm/el/